Tired and needing help with your next reading group lesson? Let comprehension connection help you out!
You are probably spending evenings and weekends to just keep up with all the things needed for your intervention groups and tutoring students. I see you running on that hamster wheel.
literacy lessons for classroom teachers
Have you heard about The Reading Collective Membership?
This quarterly membership for grades 2-4 includes 24 resources that are perfect for celebrating the seasons. I’ve chosen my favorite mentor text units, partner plays, poetry sets, and writing tools to share for one great deal! You can download what you like from the collection.
Membership Price: $19.99
comprehension connection loves happy teachers
I love to hear from happy teachers who have used my resources with their students. Here’s what they had to say about some of my best selling resources. I hope you’ll give them a try with your students too.


Literacy resources for the elementary classroom
-
Word Study Activities for ANY Spelling List Word Work Phonics
$7.00 -
Sale!
Poem of the Week Yearly Bundle Poetry Lessons Fluency Activities
$40.93Original price was: $40.93.$25.99Current price is: $25.99. -
Sale!
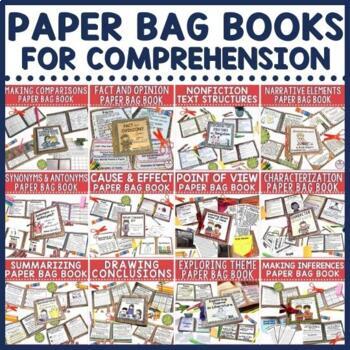
Comprehension Projects Bundle, Paper Bag Books, Test Prep, Intervention
$64.00Original price was: $64.00.$35.00Current price is: $35.00. -
Sale!
Vocabulary Activities for ANY Word List Lessons Context Clues in Digital and PDF
$14.99Original price was: $14.99.$9.95Current price is: $9.95.
-
Fall Poem of the Week, Fluency Activities, Poetry Lessons, 2nd 3rd Grade
$5.99 -
Sale!
Fall Winter Spring Poem of the Week for Kindergarten and 1st, Shared Reading
$39.99Original price was: $39.99.$30.00Current price is: $30.00. -
Sale!
Social Emotional Learning Poetry Bundle for Character Education
$27.96Original price was: $27.96.$18.00Current price is: $18.00. -
Sale!
Poem of the Week for Kindergarten and 1st Grade Mega Bundle 78 Poetry Sets
$68.00Original price was: $68.00.$40.00Current price is: $40.00.
-
Sale!
Patricia Polacco Author Study Book Companions Literacy Activities
$67.87Original price was: $67.87.$38.00Current price is: $38.00. -
Sale!
Cynthia Rylant Fall Literacy Book Study Bundle with Activities for 10 Titles
$51.92Original price was: $51.92.$27.00Current price is: $27.00. -
Sale!
Tomie DePaola Author Study with 12 titles in Digital and PDF
$59.88Original price was: $59.88.$25.00Current price is: $25.00. -
Sale!
Jan Brett Author Study Activities in Digital and PDF for 10 Titles
$52.41Original price was: $52.41.$30.00Current price is: $30.00.
-
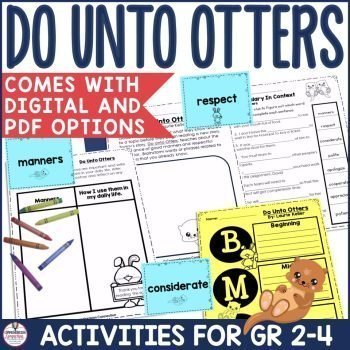
Do Unto Otters Literacy Activities Social Emotional Learning
$5.00 -
Mrs. Spitzer’s Garden Comprehension Activities
$4.50 -
Sale!
Each Kindness by Jacqueline Woodson Activities, Kindness Lapbook, Black History
$5.99Original price was: $5.99.$4.50Current price is: $4.50. -
Nerdy Birdy by Aaron Reynolds Activities in Digital and PDF
$4.99

If Literacy is your thing, you're in the right place
HERE AT COMPREHENSION CONNECTION, WE'RE ALL ABOUT IT!
Hey there! I’m Carla, and I’m glad you dropped by! My goal with Comprehension Connection is to share teaching tips for all areas of literacy including phonemic awareness, phonics, fluency, vocabulary, comprehension, and writing for grades K-8. I love sharing resources with teachers, and it makes me happy to help take a little off the overflowing platters of teacher duties. I hope you’ll find my site helpful and my resources worthy of using with your students.


